By Akmal Chaudhri.Sep 29, 2022
Set up Datadog monitoring of SingleStoreDB in minutes
Abstract
In the recent past, Datadog announced support for SingleStoreDB and it is easy to set up the monitoring in a few minutes, whether using a standalone or containerised installation of SingleStoreDB. In this short article, we’ll see the required steps to get the Datadog Agent up and running with SingleStoreDB.
Install SingleStoreDB
For this article, SingleStoreDB was installed in a Virtual Machine running Ubuntu 20.04.3. A previous article described How to Install SingleStoreDB in a Virtual Machine. Although there have been minor changes in the portal UI since that article, the information is still available in similar menu options.
Create a free Datadog account
A free trial account can be created through the Datadog Home Page. On the sign-up form, there is an option to choose a Region and, for this article, Europe (EU1) was selected. For new accounts, there is a three-step process:
- Your Account.
- Your Stack.
- Agent Setup.
The Agent Setup is the main part that we need. We’ll select Ubuntu to match the SingleStoreDB installation environment mentioned earlier.
An easy one-step install is then available, similar to the following:
DD_AGENT_MAJOR_VERSION=7 DD_API_KEY=<API Key> DD_SITE="datadoghq.eu" bash -c "$(curl -L https://s3.amazonaws.com/dd-agent/scripts/install_script.sh)"
The <API Key> is prefilled by Datadog. After a short time, the installation should be complete, and the Datadog Agent should be running.
Next, we’ll navigate to:
cd /etc/datadog-agent/conf.d/singlestore.d
We’ll make a copy of the yaml file:
sudo cp conf.yaml.example conf.yaml
and then edit the conf.yaml file.
Under the instances: section, we can uncomment and change the values to match our SingleStoreDB installation.
To collect system-level metrics, we’ll also need to uncomment and change collect_system_metrics to true.
After saving the file changes, we need to restart the Datadog Agent:
sudo service datadog-agent restart
Scrolling down the Datadog website, it should now report:
Your first Datadog Agent is reporting. Congrats!
We’ll select the Finish button.
On the left-hand navigation pane in Datadog, we’ll select Integrations > Integrations. SingleStoreDB should be automatically detected but, if not, we can use the search bar to find it. When we are ready, we can install the integration.
Next, from the left-hand navigation pane in Datadog, we’ll select Dashboards > Dashboard List > All Dashboards > SingleStore Overview.
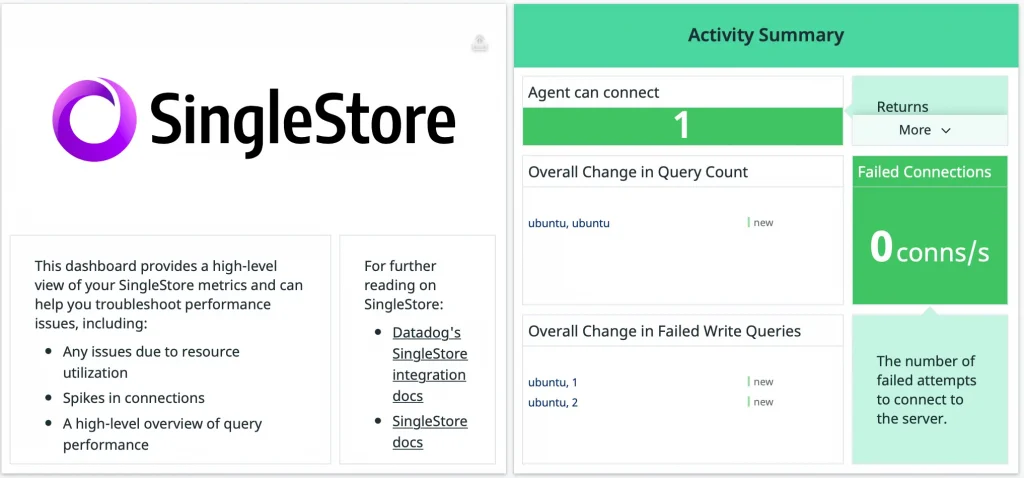
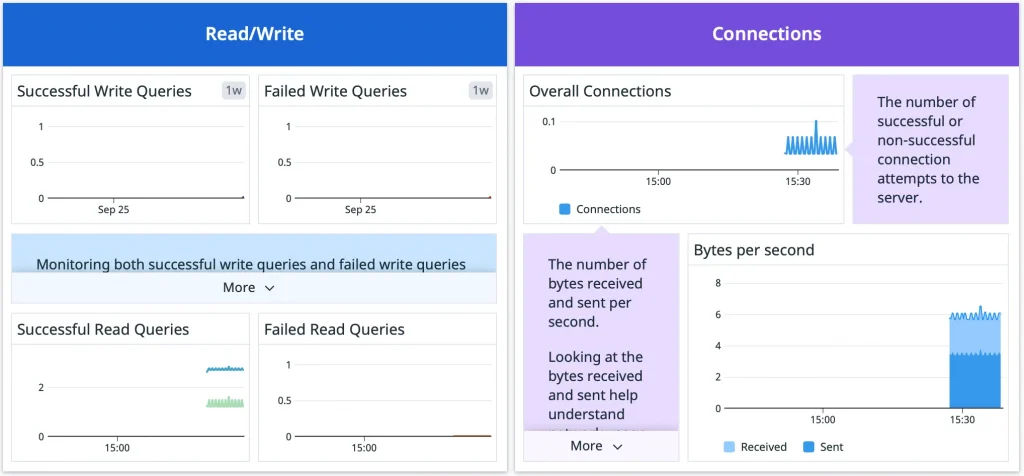
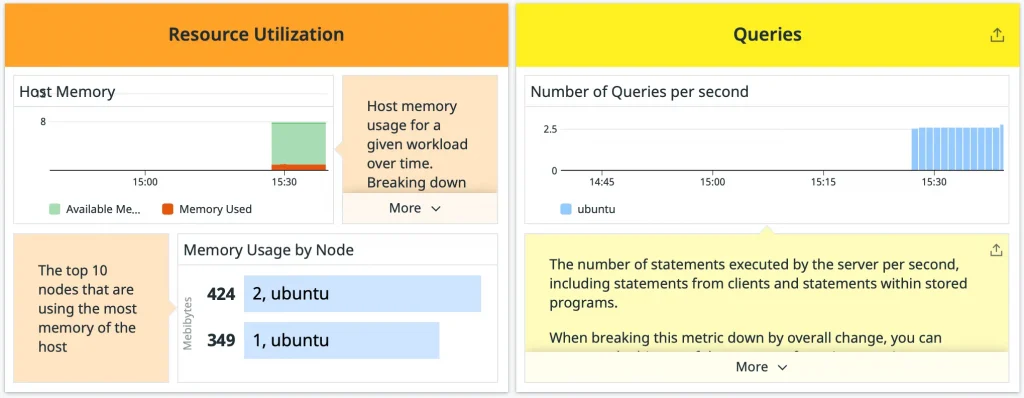
We should see various widgets showing metrics, as shown in Figures 1, 2 and 3.


There is additional documentation on the SingleStore website and the Datadog website.
Summary
Datadog is a popular monitoring service and now supports SingleStoreDB. It is easy to set up and configure, as we have seen in this article.
The original article published on Medium.
