
By Siddhesh Patil.Oct 21, 2022
If you’re an organisation who wants to focus more on their application logic rather than managing end-to-end infrastructure or if you’re a beginner in the cloud but want to host your application like a website in the cloud with minimal effort, I think PAAS is one of the best offering models in the cloud you can utilize.
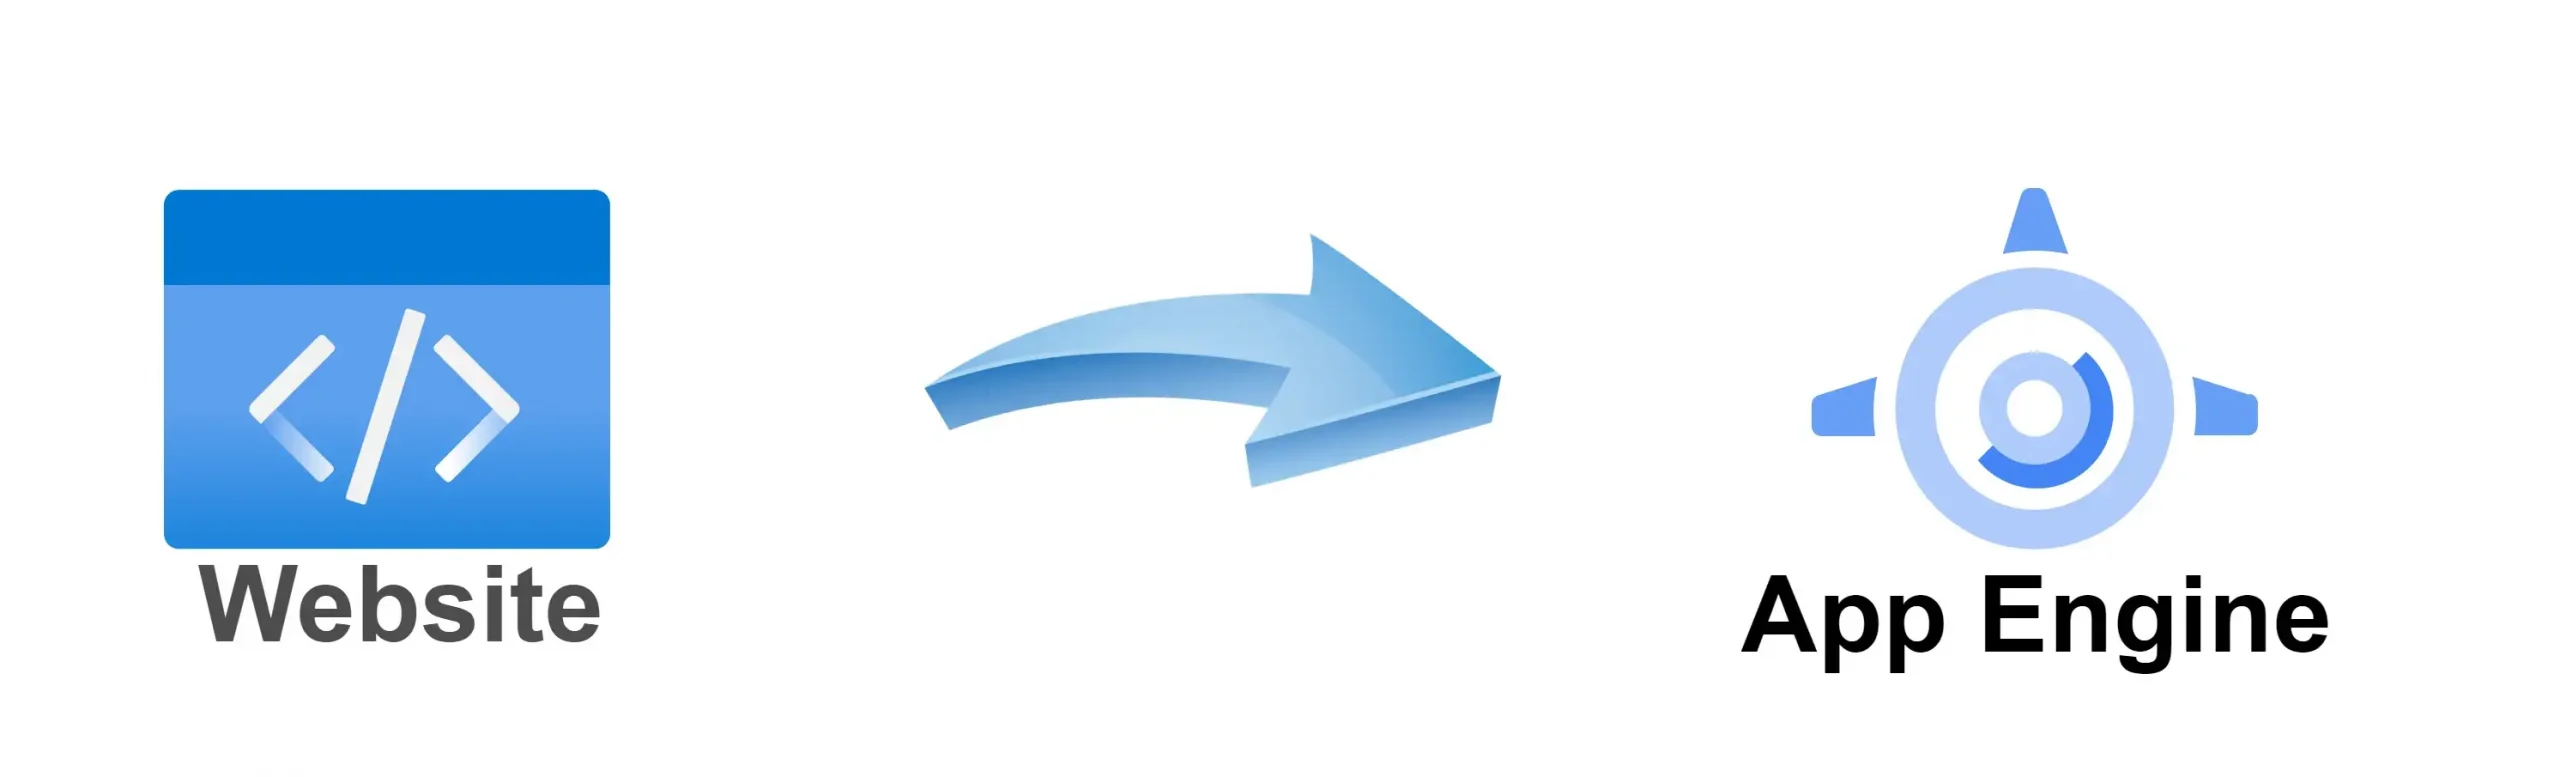
In this blog, we’re going to see the PAAS offering from Google Cloud, i.e., App Engine.
What is an App Engine?
App Engine is a serverless service provided by GCP that is a PAAS service. All you need is your application code with an app.yaml file and a billing account to get started.
GCP launched the App Engine in 2008, and you can only deploy it once per project, but you can create multiple versions. Also, this service has two modes: Flexible and Standard. Basically, the flexible type allows users to get an app engine to interact with any language, and in the standard type you choose which language your application is based on, like Node.js, Java, Ruby, C#, Go, Python, or PHP.
If you want my website content, then click here. So let’s start with how to deploy your website or application on the app engine.

Pre-requisites
- You should have your website with you. If you don’t have any websites, here is the link to my sample website(click here).
- Should have a GCP account with billing activated.
Note
- Remember, the app engine can be deployed only once in a GCP project, so make sure you have a new project or are not overwriting someone’s project.
- I haven’t used any Python code on my static website. Only basic HTML and CSS are used. To run just HTML and CSS, you can choose any language type in the app engine.
- The Standard type App Engine only supports Python 2.7 and above.
Summery of Steps
- Making your website/web-app (pre-requisite).
- Creating an app.yaml for a website or web-app
- Making the app engine accessible.
- Website or web-app deployment.
- Validating deployment.
- Additional Features: Versioning, Split Traffic.
How to create an app.yaml?
Let me explain my app.yaml file for my static website (link).
runtime — This is where you specify the language version you’re using.
api_version — It is the version of the website’s environment; at the moment, the app engine uses Python environment version 1.
threadsafe —consider you have complex code and 2 variables are going to implement its output on 3rd variable because of this your next entire code might fail to prevent this python has this threadsafe inbult and it is only for python 2.7 or new.
handlers —Inside this, you have to mention the way your code is supposed to run.
url — Here you give the location of the directory you’re taking about.
static_files —This is telling the app engine that my index.html is a static file.
upload — The app engine doesn’t know which static file is your main file, so the upload command helps him identify which is your primary static file.
static_dir — This shows that RedLotus is the folder that contains my static files.
Click here to learn more about these types of commands.
STEPS
1. Make sure you’re on the right project. I am creating a new project called “App Engine”(if you don’t know how to create a project, click here).


2. Here you should have selected the right project.
3. In the Navigation menu under serverless, go to App Engine.

4. Here you will get a message like this:

5. Choose “create application” and you will see this.

6. Choose the region where you want your application to be working but here I am going with us-central, after this click “next”.

7. Here you should choose the type of language you used for the website. Now there is one thing to check before we upload our website. Go to “settings” in the left side panel.

8. Here it should show “Disable application”. If it’s showing an enabled application, then enable it. Now we will activate the cloud shell, so click here.

9. You will see a terminal like this.

10. Now open editor here.

11. And wait till it gets loaded completely. After this, you will see this.

12. Now drag your files to this block.

13. And it will get uploaded.

14. If it doesn’t transfer all the files, just try again, and if you want my web page files, click here.
15. The App.yaml file is a must for the app engine to work, so now click to “open terminal”.

16. And you will be back at the terminal.

17. Add this command and authorise the prompt.
gcloud auth list

18. You will get output like this.

19. Let’s deploy our application.
gcloud app deploy

20. Enter “y” and continue. The files will be uploaded to the app engine and after 1/2 minute it will give you a link like this.

21. Now you can use that link world wide. Let’s check that link in the browser.

22. To create the second version, click on “open editor”, make changes to your code, and click on “save all”.

23. Now “open terminal” again and type,
gcloud app deploy — version=<version name>
example,

24. If you are asked for y/n, enter y and continue. Your v2 application is now live, as evidenced by the app engine →versions.

25. So you’ve got 2 versions available now to slip traffic between them Click on “split traffic,”

26. You will see this,

27. Here you can choose which type of traffic to split into. I am choosing “Random” and for Version 1, choose your 1st version and click on “add version.” In the second version, choose the 2nd version and split traffic as you wish.

“Save” it and you should be able to handle your application’s deployment, versioning, and traffic.
Congrats, your website is live now!!!
If you need any help, you can ask me in the comment section or contact me through LinkedIn.
The original article published on Medium.